For this lesson, you’ll use the imported Photoshop file as the basis of the composition.
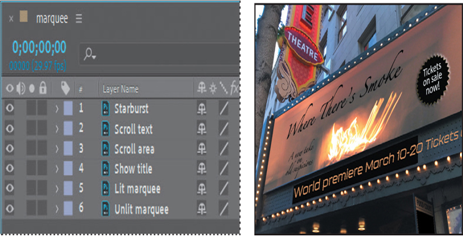
- Double-click the marquee composition in the Project panel to open it in the Composition panel and in the Timeline panel.
Note
If you don’t see the full image, choose Fit from the Magnification Ratio pop-up menu in the Composition window.
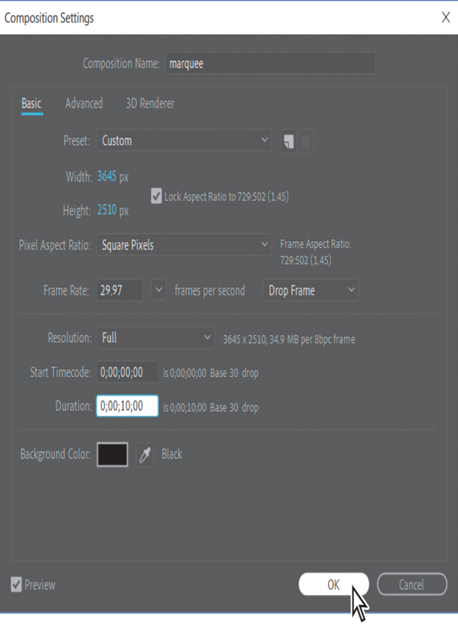
- Choose Composition > Composition Settings.
- In the Composition Settings dialog box, change the Duration to 10:00 to make the composition 10 seconds long if it isn’t already, and then click OK.
Simulating lighting changes
The first part of the animation involves lighting the marquee. You’ll use Opacity keyframes to animate the light.
- Go to 4:00.
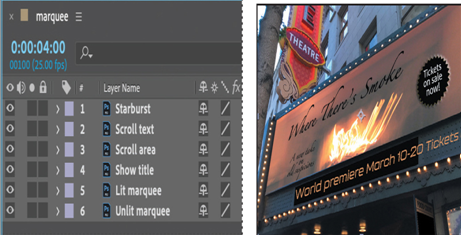
Currently, the lit background is on top of the regular (unlit) background, obscuring it so the initial frame of the animation is bright. However, you want the marquee to appear dark and then lighten. To accomplish this, you will make the Lit marquee layer initially transparent, and then animate its opacity so that the lights appear to turn on over time.
- Select the Lit marquee layer in the Timeline panel, and click the stopwatch icon ( ) next to the Opacity value in the Properties panel to create a keyframe. Note that the Opacity value is 100%.
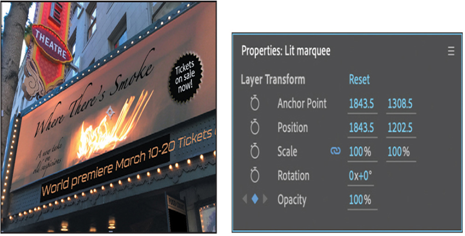
- Press the Home key or drag the current-time indicator to 0:00. Then change the Opacity to 0%. After Effects adds a keyframe.
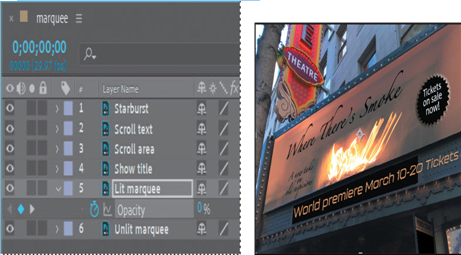
Now, when the animation begins, the Lit marquee layer is transparent, which allows the Unlit marquee layer to show through.
- Click the Play/Pause button ( ) in the Preview panel, or press the spacebar, to preview the animation.
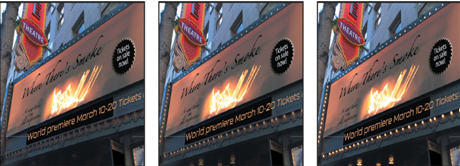
The bulbs around the marquee transition until they are brightly lit.
- Press the spacebar to stop playback at any time after 4:00.
- Choose File > Save.
