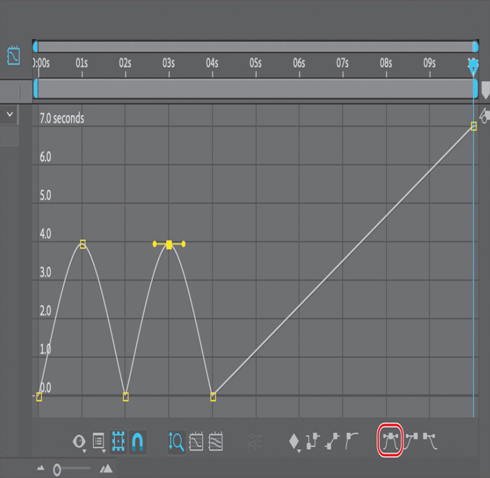
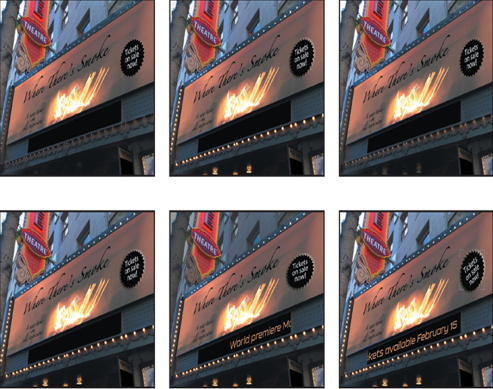
You’ll soften the shift in time that occurs when the lights blink with Easy Ease.
- Click to select the keyframe at 1:00, and then click the Easy Ease icon (
) at the bottom of the Graph Editor. This slows the shift into reverse so that the lights stay bright just a little longer.
- Click to select the keyframe at 3:00, and apply Easy Ease for the same effect.

Notice that there are Bezier handles where you added ease. You can refine the amount of ease on a transition further by dragging the Bezier handle. If you drag the handle further from the keyframe, the transition is softer; if you drag it down or closer to the keyframe, the transition is more pronounced.
- Go to the beginning of the time ruler, and preview the entire movie.

- Choose File > Save to save the final project.
Congratulations. You’ve completed a complex animation, including shifts in time. You can render and export the time-remap project if you’d like. See Lesson 15, “Rendering and Outputting,” for detailed instructions on rendering and exporting a composition.
Review questions
1 Why would you import a layered Photoshop file as a composition?
2 What is the pick whip, and how do you use it?
3 What is a track matte, and how do you use it?
4 How do you remap time in After Effects?
Review answers
1 When you import a layered Photoshop file into After Effects as a composition, After Effects preserves the layer order, transparency data, and layer styles from the source Photoshop document. It also preserves other features, such as adjustment layers and type.
2 The pick whip creates expressions that link the values of one property or effect to another layer. The pick whip is also a way to create parenting relationships. To use the pick whip, simply drag the pick whip icon from one property to another.
3 When you want one layer to show through a hole in another layer, you can use a track matte. To create a track matte, you need two layers: one to act as a matte, and another to fill the hole in the matte. You can animate either the track matte layer or the fill layer. When you animate the track matte layer, you create a traveling matte.
4 There are several ways to remap time in After Effects. Time remapping lets you dynamically speed up, slow down, stop, or reverse footage. When remapping time, you can use the values in the time-remap graph in the Graph Editor to determine and control which frame of the movie plays at which point in time. When you enable time remapping for a layer, After Effects adds a Time Remap keyframe at the start and end points of the layer. By setting additional Time Remap keyframes, you can create complex motion effects. Every time you add a Time Remap keyframe, you create another point at which you can change the playback speed or direction.
