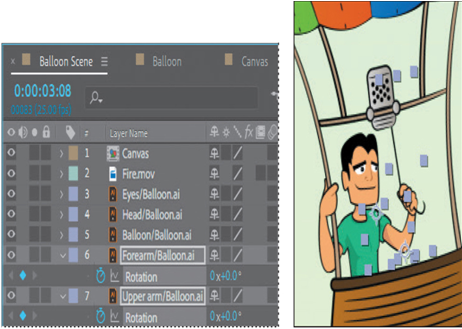
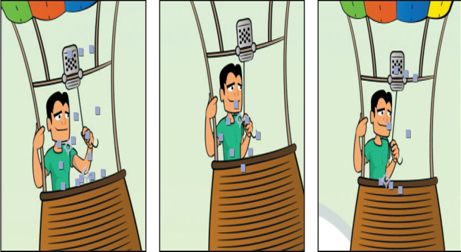
The balloon swoops and swirls through the sky, and its child layers go with it. But the character is currently static in his balloon. You’ll animate his arm tugging on the cord to ignite the burner.
- Go to 3:08.
- Choose 100% from the Magnification Ratio pop-up menu in the Composition window so that you can see the character clearly. Use the Hand tool to adjust the image in the Composition window if you need to.
- Shift-select the Forearm/Balloon.ai layer and the Upper arm/Balloon.ai layer.
- In the Properties panel, click the stopwatch icon next to the Rotation property to create an initial keyframe for each layer.
After Effects displays the Rotation property and initial keyframe for each layer in the Timeline panel.

- Go to 3:17, the point at which the character will tug the cord to ignite the burner.
- Deselect the layers.
- In the Timeline panel, change the Rotation property for the Forearm layer to –35 and the Rotation property for the Upper arm layer to 46.
The character tugs the cord down. You may need to deselect the layers so you can see the action clearly in the Composition window. - Go to 4:23, and change the Rotation property for the Forearm layer to –32.8.

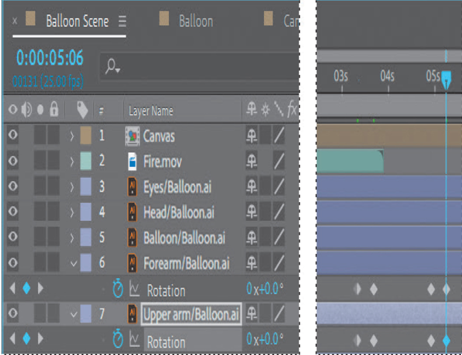
9.Click the Add Or Remove Keyframe At Current Time button () to the left of the Rotation property for the Upper arm layer.
10.Go to 5:06, and change the Rotation value for both layers to 0.

- Deselect both layers, and then manually preview from 3:00 to 5:07 to see the character tug the cord. You may need to zoom out to see the animation.
Adding color labels to keyframes
In a complex composition, you may have to create hundreds of keyframes. Assigning color labels to keyframes lets you organize, identify, and quickly select components of your work. You’ll assign colors to the keyframes you just created to make it easier to identify and duplicate them.
- Right-click (Windows) or Control-click (macOS) one of the keyframes you just created.
- Choose Label > Red.
The keyframe is now red. You can add labels individually, but since you want to label all the keyframes currently in the layer, it will be faster to assign the label to them all at once. - Select the Rotation property for the Forearm/Balloon layer to select all four of its keyframes.
- Shift-select the Rotation property for the Upper arm/Balloon layer to also select its keyframes.
- Right-click or Control-click a selected keyframe, and choose Label > Red.
- Press F2 or click an empty area in the Timeline panel to deselect all layers.
