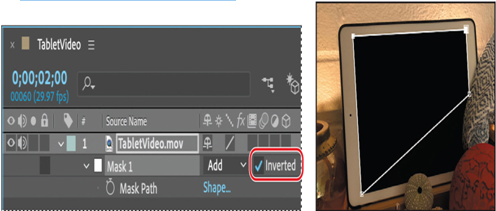
For this project, you need everything inside the mask to be transparent and everything outside the mask to be opaque. You’ll invert the mask now.
- Select the TabletVideo.mov layer in the Timeline panel, and press the M key to see the Mask Path property for the mask.
Tip
Pressing the M key twice in quick succession displays all mask properties for the selected layer.
There are two ways to invert this mask: by choosing Subtract from the Mask Mode pop-up menu, or by selecting the Inverted option.
- Select the Inverted option for Mask 1.

The mask inverts.
- Press F2 or click an empty area of the Timeline panel to deselect the TabletVideo.mov layer.
Creating curved masks
Curved or freeform masks use Bezier curves to define the shape of the mask. Bezier curves give you the greatest control over a mask’s shape. With them, you can create straight lines with sharp angles, perfectly smooth curves, or a combination of the two.
You’ll use Bezier curves to adjust the mask’s edges around the fabric, red ball, and sea urchin shell that obscure part of the screen.

- In the Timeline panel, select Mask 1, the mask for the TabletVideo.mov layer. Selecting Mask 1 makes the mask active and also selects all the vertices.
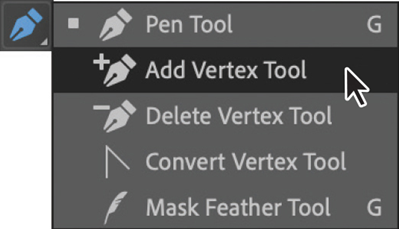
- In the Tools panel, select the Add Vertex tool (
), which is hidden behind the Pen tool.
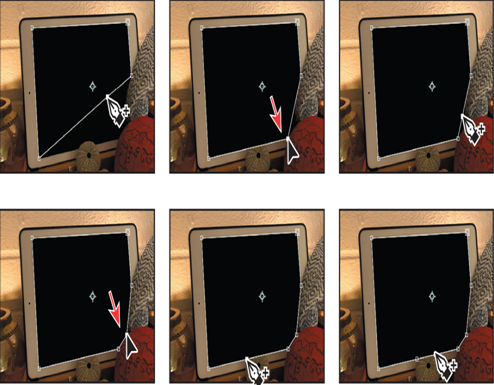
- With the Add Vertex tool, click along the bottom edge of the mask to add a vertex.
- Drag the new vertex down to the point where the red ball intersects with the screen.
- Add another vertex next to the fabric, and drag it down to the point where the fabric and red ball intersect.
- Add vertices at the two points where the sea urchin shell intersects the bottom edge of the screen.

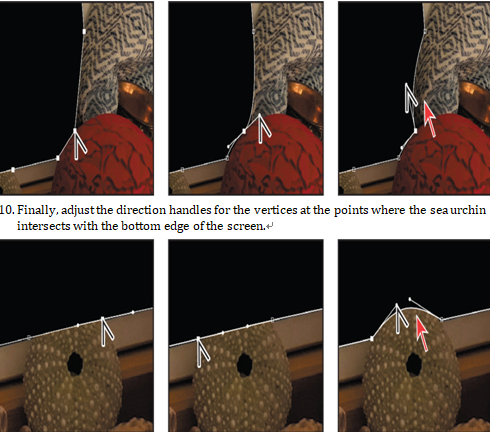
- In the Tools panel, select the Convert Vertex tool ( ), which is hidden behind the Add Vertex tool.
- In the Composition panel, click the vertex where the fabric and red ball intersect. The Convert Vertex tool changes the corner vertex to smooth points.
- Adjust the direction handles until the mask follows the contour of the fabric and the red ball.

- Deselect the TabletVideo.mov layer in the Timeline panel to check the edge of your mask. If you need to make adjustments, select Mask 1 in the TabletVideo.mov layer, and use the Convert Vertex tool to fine-tune the shape of the mask.
- Choose File > Save to save your work.
