The lights come on, but the sky and building remain in daylight. The background should darken as the marquee lights up, showing off the marquee contents and creating a sense of excitement. You’ll use a mask, a solid layer, and a blending mode to provide the contrast.
Creating a mask
You want darkness to fall on the building and sky behind the theater sign. You’ll duplicate the layer, and then create a mask to isolate the area you want to darken.
- Press the Home key or move the current-time indicator to the beginning of the time ruler.
- In the Timeline panel, select the Lit marquee layer.
- Choose Edit > Duplicate. After Effects adds a Lit marquee 2 layer to the layer stack, immediately above the Lit marquee layer.
- Select the Pen tool ( ) in the Tools panel.
- With the Lit marquee 2 layer selected in the Timeline panel, click the upper left corner of the marquee to start drawing.
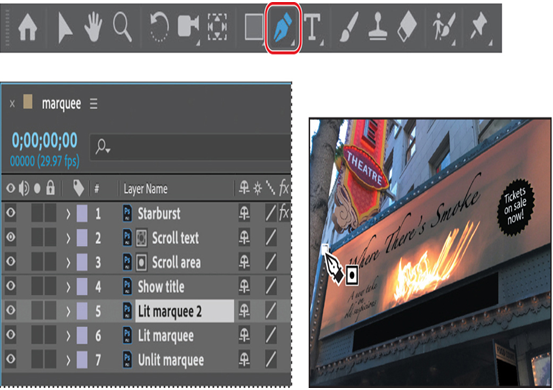
- Click additional points to continue the mask around the left edge of the marquee, the left and upper edge of the background, and the theatre sign, as in the image below. You’ll need to create some points of the mask on the pasteboard outside the image.
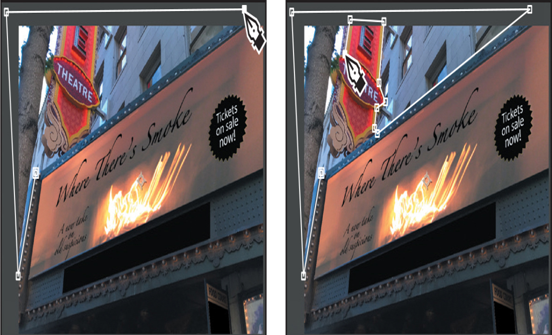
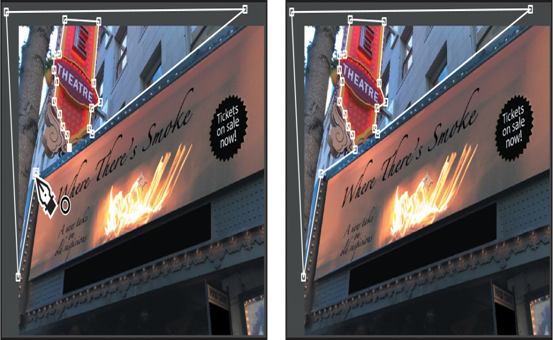
- Continue around the theatre sign, and then click your starting point again to close the mask.
Adding a solid layer
Now that you’ve masked the background, you’ll add the layer that will affect it, and then animate the opacity of that layer.
- Select the Lit marquee layer in the Timeline panel.
- Choose Layer > New > Solid.
- In the Solid Settings dialog box, make sure a dark gray color is selected, click Make Comp Size, and then click OK. After Effects adds a layer named Dark Gray Solid 1 between the Lit marquee and Lit marquee 2 layers.
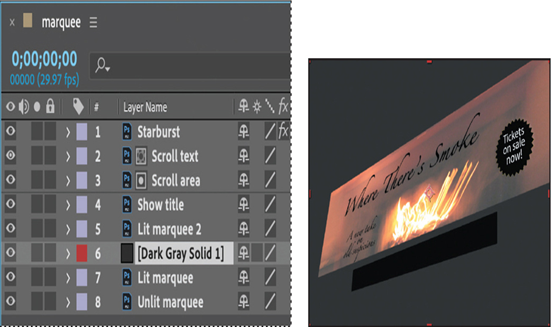
With the current-time indicator at the beginning of the time ruler, most of the image will darken, because neither the Lit marquee layer nor the Lit marquee 2 layer (with its mask) are visible yet. Don’t worry; you’ll animate the solid layer’s opacity to account for that.
- Select the Lit marquee 2 layer, and press M if the Mask property isn’t already displayed.
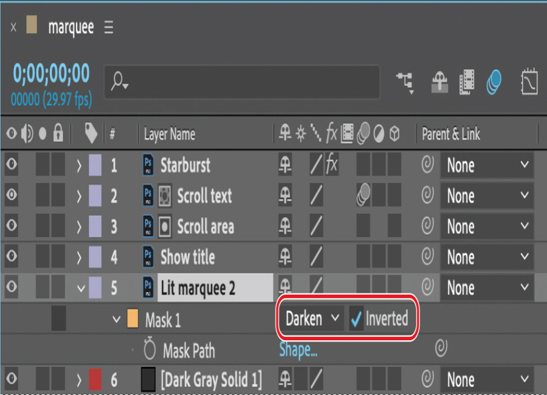
- Choose Darken from the Mask Mode menu, and select Inverted.
You drew around the background, but that’s the area you want to remain unmasked. When you invert the mask, the unselected area becomes masked instead.
- Select the Dark Gray Solid layer. Make sure the current-time indicator is at the beginning of the time ruler (0:00). Then, change the Opacity value to 0% in the Properties panel, and click the stopwatch icon ( ) to create an initial keyframe.
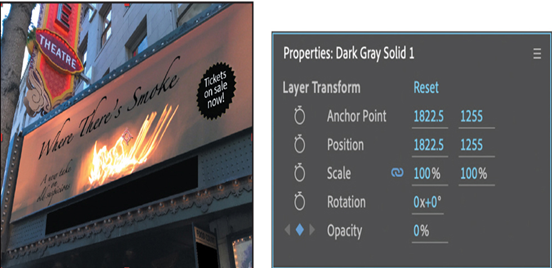
- Go to 1:23, and change the Opacity to 5%.
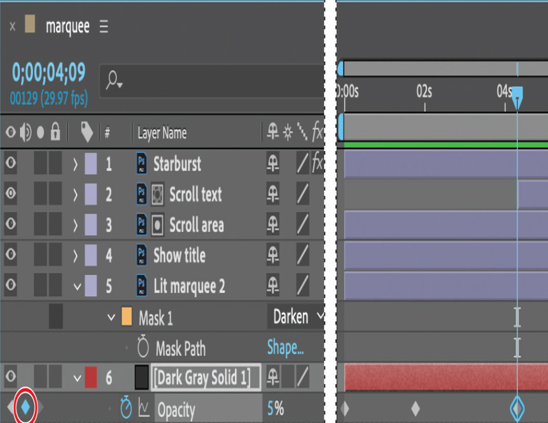
- Go to 4:09, and click the Add Or Remove Keyframe button to create an additional keyframe with Opacity at 5%.
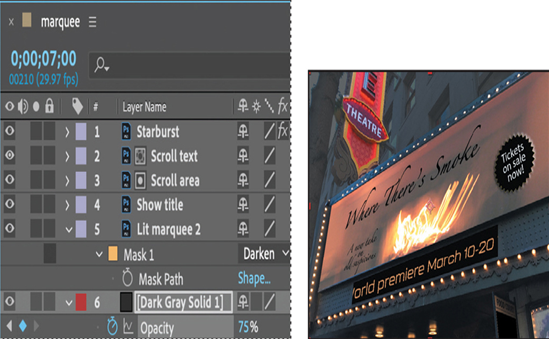
9. Go to 7:00, and change the Opacity to 75%.
- Press the Home key or move the current-time indicator to the beginning of the time ruler. Press the spacebar to preview the animation. When you’re done, press the spacebar again.
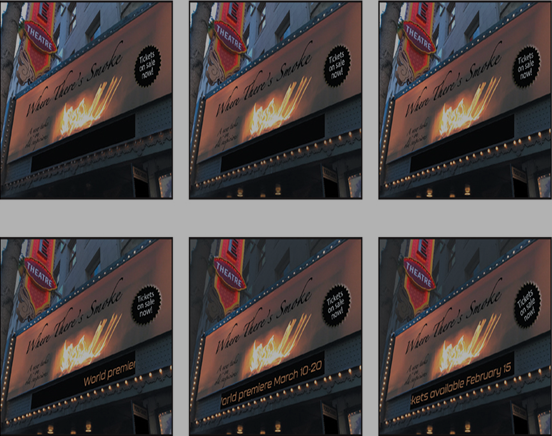
As the lights brighten and the text begins to move, the surrounding building and sky gradually darken. Your scene is complete.
- Hide the properties for all layers, and save your work.
